Toys in the ESL Class: How to Make Your Lessons Irresistible for Young Learners


Have you tried play dough in your classroom? This squishy fun is extremely flexible when it comes to teaching English. Here are 9 amazing ways to use play dough in your ESL class plus a few simple recipes for making your own.

If you teach young children, it should be no surprise that they love to tell stories. Use your classroom Play Dough to encourage that kind of creativity in your ESL class. Give your students some time to build creatures or scenes (or both) from the play dough. Then have them tell a partner or the entire class what is happening in their creation. If you like, target your current vocabulary unit and give students a theme for their building fun. Have them create something that has to do with sports, cooking, travel, weather, or whatever you are studying at the moment. Then, when it’s time to share, see how many of your target words they can use comfortably.

You are probably familiar with the classic children’s toy Mr. Potato Head. It’s great for teaching vocabulary and letting kids be creative. You can bring that creativity (and a great opportunity for teaching body vocabulary) into your classroom with some simple play dough. Give each student a lump of the fun stuff, and make available to your class several electrical outlet covers. Students will also need permanent markers. They can then draw facial and body parts on the electrical caps with the permanent markers and use them to create original creatures in the play dough, which serves as the body of the creature. You don’t have to limit the pieces they make to human parts. Try having students make original insects for a nature unit or aliens for a space unit. Save the decorated caps and put them in a learning center. At the center also include instructions for building specific creatures (e.g. give your creature three eyes, two mouths, one antennae, and eight feet) for a vocabulary and reading comprehension activity.
How well do your students follow directions? You may be able to get a read on that with a simple play dough exercise. Give each student some play dough and encourage them to hide their creating area as much as possible. Then give your students some directions on what to make with their play dough. If you like, make your instructions specific using color and shape words as well as words for how to form the dough. You might also want to follow your own directions and make a model, though don’t let your students see it. Once you are finished giving directions, have everyone reveal their creations, and show them yours, too. How close did each person get to what you made? Answering this might tell you how good their listening comprehension is.
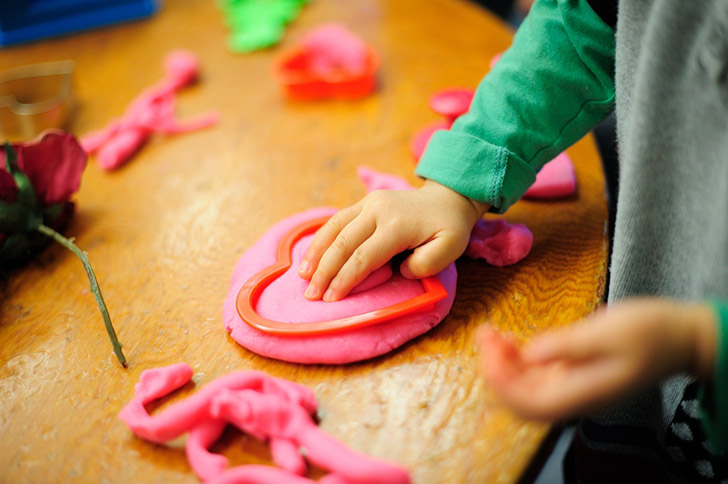
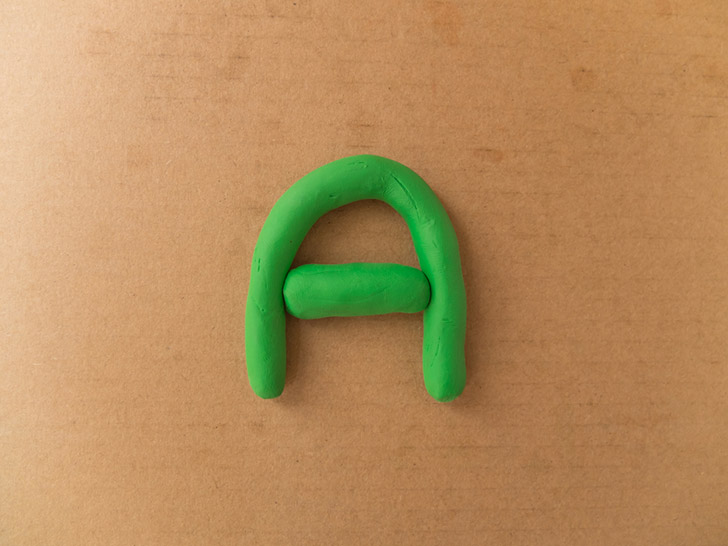
If you are teaching beginning students and even false beginners, keeping things simple is key. Play dough is one way to get your students “writing” words from the beginning. This is best done at a learning center, but you can also modify it for a class activity. At your center, set out some play dough and some letter cookie cutters or magnetic letters. You might also want to have some vocabulary cards at the center. For each card, have the word printed out and a picture of what it is. At the center, students press their play dough out on the work surface and choose a vocabulary card. They then use the cookie cutters to press letters into the play dough to spell out the vocabulary word. Students can do multiple words on one lump of play dough or remold the dough for each new word. If you don’t have cookie cutter letters, don’t let that stop you. Print out your target words in a large font on a standard piece of paper. Laminate the page or put it in a plastic sleeve and let your students put play dough over the letters as they “write” the words.

If you are ready to review vocabulary with older students and want to change things up from the usual charades and Pictionary, use play dough. Play your word guessing game the same way you always do, but rather than acting out the words students use play dough to form the shapes and scenes their classmates will use to guess. You can play two teams at a time or have one person mold their target vocabulary while the whole class guesses. Your students will have a ball as they review vocabulary and laugh at their classmates’ creative skills.
Get creative with your reading comprehension assessment and give students a chunk of play dough. Rather that summarizing something they have read, have them create something out of play dough that tells the story they have just read. They might build objects from the passage or create an important scene from a piece of fiction. If you have your students do this activity, you might want to introduce the idea of a diorama and have them put their play dough creation on display for the rest of the class.
If you are teaching your students phonics, you can give them a lesson to remember by including play dough. Give each student some dough, show them out to roll it out like a rope, and have them form typical letter combinations (ough, tion, etc.) with the play dough rope. As students form these letters, talk about the different sounds they can make when they are in a word. If you like, have students form complete words with their play dough as well.
Believe it or not, you can use play dough to keep your class from bouncing off the walls. Some kids with attention and hyperactive disorders do well when they are given an object to handle as they listen. Play dough will do just that. It fills their hands and frees their minds to think about the lessons you are presenting to them. Even average students can benefit from doing something with their hands as they listen to you teach, so why not give it a try?
Are you doing a lesson on adjectives? Do you want your students to use more sensory descriptions in their writing (how things feel, smell, look, etc.)? Play dough is a great resource for sensory descriptions. Though the stuff that comes from a can might not be that interesting, it’s easy to whip up your own dough creations, and many of them require no cooking and just take a few minutes. Mix up three different kinds of dough for your students to feel, smell, and touch. Have them describe each with sensory words focusing on the senses of sight, smell, and touch. If you like, take your adjective lesson a step further and have them make comparative and superlative sentences about the different types of dough. Try the following simple recipes for homemade dough.
Cloud Dough: Mix one box of corn starch with one can of shaving cream. You can shape and form it, but it feels light as air in your hands. (This lovely mixture also goes by the name summer snow, so feel free to take it outdoors and have a snowball fight after your language activity if your class is so inclined.)
Stretchy Dough: Mix one cup conditioner (the cheaper the better) with two cups cornstarch. If you’re feeling daring, throw in some glitter, too. (It’s silky and stretchy and leaves your hands soft, too.)
Jell-O Play Dough: Dissolve one package of Jell-O in 2 tablespoons of hot water. Add ¼ cup white glue. Add cornstarch ¼ cup at a time (up to one cup total). Keep kneading the mixture till it’s not so sticky and feels more like play dough. Add a little more water (if it’s too dry) or cornstarch (if it’s too wet). (This soft and stretchy dough will be a treat for your students’ noses. You can make different flavors, too, by changing up the Jell-O you use.)
Oatmeal Play Dough: Mix together two cups uncooked oats, one cup water, one cup flour until it comes together to form dough. (The texture makes this dough stand out from the others.)
Chocolate Play Clay: Put some Hershey’s Chocolate Syrup in a bowl (you can also use Nutella) and add cornstarch until the mixture is firm and kneadable. (You may have to stop your students from eating this one.)
You can always make your own standard play dough if you can’t find it in the store or can’t fit it in your budget. Just combine 1 cup water, ¼ cup salt, 2 tsp. cream of tartar, 1 tbsp. vegetable oil, and a few drops of food coloring in a saucepan. Cook over medium heat stirring constantly until it forms a ball. Let it cool a little and then knead it till it feels smooth and pliable.
One note on cleanup, you might find it easiest to let and play dough that made its way to the floor dry overnight. Then vacuum it up the next day.
Making play dough and using it in your class is easier than you think and oh so memorable. If you have never tried it, now might be the perfect time to give it a chance.
What activities did you do with it?